唐三彩の工芸 ( 第 4 部 ) — 釉薬の応用
With the glazes prepared and tested, the next step is applying them to the bisque-fired clay body. Tang Sancai is famous for its flowing, blended color effects — effects that depend entirely on how the glazes are applied.
The Bisque Body: Preparing the Canvas
Before glazing begins, the bisque body must be properly prepared:
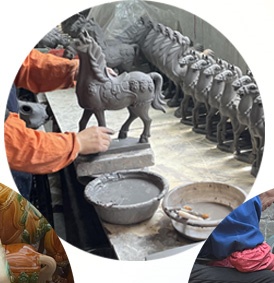
Cleaning: After bisque firing, the bodies are dusty and may have loose particles adhering to their surfaces. Each piece is carefully brushed and blown clean. Some artisans also lightly wipe the surface with a damp sponge to remove any remaining dust.
Moistening: The bisque body is highly porous, which helps it absorb glaze slurry. However, if the body is too dry, it will absorb glaze too quickly, causing uneven application. To prevent this, some potters lightly mist the bodies with water before glazing — a process called "damping."
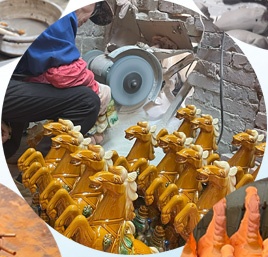
Masking: For pieces that require unglazed areas (such as the bottoms of vessels or specific decorative zones), these areas are masked with wax, paper, or clay slip that will later be removed. The feet of Tang Sancai figures are typically left unglazed, revealing the brick-red bisque body.
Application Methods
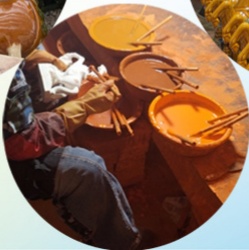
Tang Sancai artisans employed several methods to apply glazes, often combining multiple techniques on a single piece.
1. Pouring (Most Common)
Pouring is the primary method for glazing the interiors of vessels and for covering large, curved surfaces quickly and evenly.
The glaze slurry is poured directly onto the body, which is held over a collection basin
The artisan tilts and rotates the piece, allowing the glaze to flow across the surface
Excess glaze is poured back into the storage container
For interiors, glaze is poured in, swirled around, and then poured out
Pouring produces a relatively even coating but does not allow for detailed decorative control. It is typically used for base coats or for pieces that will receive additional decoration by other methods.
2. Dipping
Dipping is used for smaller pieces or for areas that need complete coverage.
The piece is grasped with tongs or by an unglazed area (such as the foot)
It is lowered into a container of glaze slurry and held for 2–5 seconds
The piece is withdrawn and allowed to drain
Dipping provides very uniform coverage but is less precise than brushing
3. Brushing
Brushing is the most precise method and is essential for detailed decorative work.
Soft bamboo- or hog-hair brushes are dipped into glaze slurry
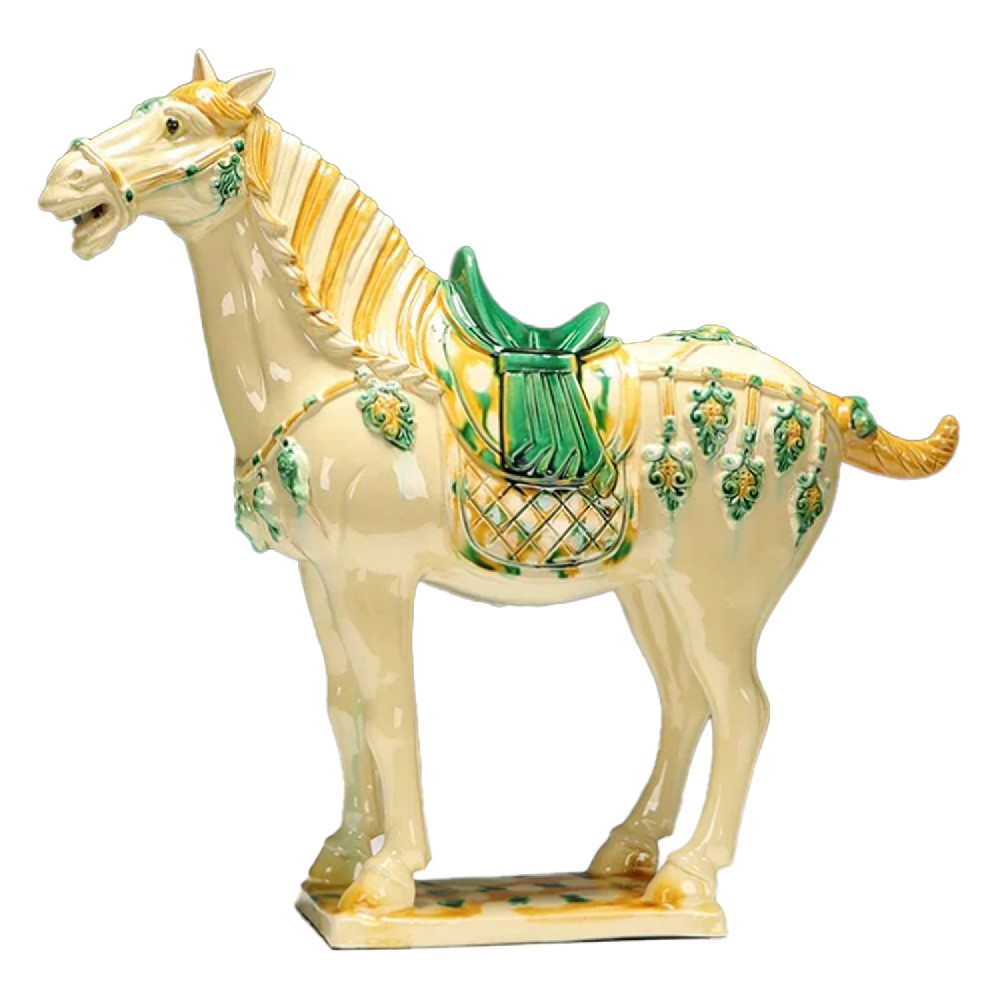
The glaze is painted onto specific areas: the mane of a horse, the saddle of a camel, the robe of a figure
Multiple brush coats may be applied, with drying between coats
Brushing allows the artisan to create sharp boundaries between colors
4. Marbling (Special Technique)
For certain decorative effects, two or more glaze colors are swirled together on the surface before firing.
Different colored glazes are poured or brushed onto the same area
Before the glazes dry, the artisan uses a tool (or simply tilts the piece) to swirl them together
During firing, these swirled glazes flow into each other, producing a marbled or tie-dyed effect
5. Splashing and Dribbling
For a more free-form effect, artisans sometimes splash or dribble glaze onto the surface from a height.
A brush or stick is dipped into glaze and shaken or flicked over the piece
Glaze is allowed to drip from the brush onto specific areas
This technique creates the characteristic "teardrop" or "splatter" effects seen on some Tang Sancai pieces
The Classic Tri-Color Palette
Despite the name "three colors," Tang Sancai actually uses a wider range of colors. The classic combination typically includes:
| Color | Application Areas | Effect |
|---|---|---|
| Green (copper) | Saddles, robes, leaves, base grounds | Cool, fresh, dominant color |
| Yellow (iron) | Manes, armor, decorative bands | Warm, earthy, accent color |
| White (uncolored base) | Faces, hands, underbellies, backgrounds | Neutral, translucent, unifying |
Blue (cobalt) appears on high-status pieces and is treated as a special accent, often used for eyes, jewelry, or specific decorative motifs.
The Art of Layering
One of the secrets of Tang Sancai's flowing beauty is the deliberate layering of glazes.
Base Layer: A thin coat of clear or white glaze may be applied to the entire piece before colored glazes are added. This base layer promotes even flow and prevents the colored glazes from "starving" (absorbing too quickly into the porous body).
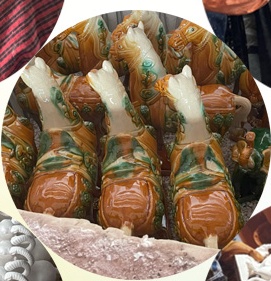
Color Layers: Colored glazes are applied over the base layer, usually in distinct zones. Where two colors meet, they are often overlapped slightly. During firing, the overlapping areas blend to produce intermediate colors — for example, yellow over green produces a yellow-green, while green over white produces a softer turquoise.
Top Accents: Fine details — eyes, mouths, decorative dots — may be applied as a final layer using a fine brush and concentrated glaze.
Controlling Thickness
Glaze thickness is critical to the final appearance:
Too thin: The glaze will appear dull, matte, or patchy; the underlying bisque may show through
Too thick: The glaze will run excessively during firing, potentially sticking the piece to the kiln shelf or obscuring fine details
Just right: The glaze melts to a glossy, transparent or translucent film that follows the contours of the body without obscuring details
Experienced artisans judge thickness by eye and touch. A typical application leaves a dried glaze layer approximately 0.3–0.5 mm thick.
Drying After Application
After glazing, the pieces must dry completely before firing. Glazed pieces are placed on wooden boards in a dust-free, draft-free area. Drying times vary:
Small pieces: 12–24 hours
Medium pieces: 24–48 hours
Large pieces: 48–72 hours
In humid conditions, drying may take considerably longer. Artisans sometimes use gentle warmth (from a low fire or sunlight) to accelerate drying, but direct heat can cause the glaze to crack (a defect called "mud-cracking").
Common Defects and Prevention
| Defect | Cause | Prevention |
|---|---|---|
| Crawling | Glaze pulls away from body | Clean bisque thoroughly; apply thinner coats |
| Pinholing | Small bubbles in glaze | Longer milling; slower drying |
| Cracking (mud-cracking) | Glaze too thick; drying too fast | Thinner application; slower drying |
| Uneven coverage | Poor application technique | Practice; use multiple thin coats |