How to paint a horse
You can choose different techniques based on the style you want, whether it's pursuing the artistic conception of traditional Chinese painting, the splendor of meticulous colored brushwork, or the cuteness of cartoon simplicity—there are corresponding techniques to follow. This style emphasizes the charm of brushwork and the spirit of the horse, suitable for creators who pursue expressiveness and grandeur. Step-by-step depiction:Head: Start with the horse's ears, then outline the mouth, nose, and eyes in order, paying attention to perspective changes. Use fine, firm, and upright strokes on the bridge of the nose to convey a sense of glossiness.Body and limbs: Connect to the horse's head, drawing the neck, chest, back, abdomen, and limbs. The brushwork should vary in pressure and speed, and the ink shades should vary in intensity to show the volume and strength of the muscles.Mane and tail: Use quick strokes with varied pressure to draw the mane and tail without pressing too hard, to convey a sense of flowing elegance.Ink rendering: After the lines are dry, apply light ink for shading to enhance three-dimensionality. Use lines of varying thickness and leave blank spaces on protruding parts (like muscle bulges) and apply heavier strokes on recessed areas (like the inner sides of the legs).Details and finishing touches: Finally, use darker ink to dot key areas such as the hindquarters, underside, and the junction of chest and abdomen to highlight the horse's strong and powerful image. Refine the composition to complete a lively painting of a galloping horse.
Related Works
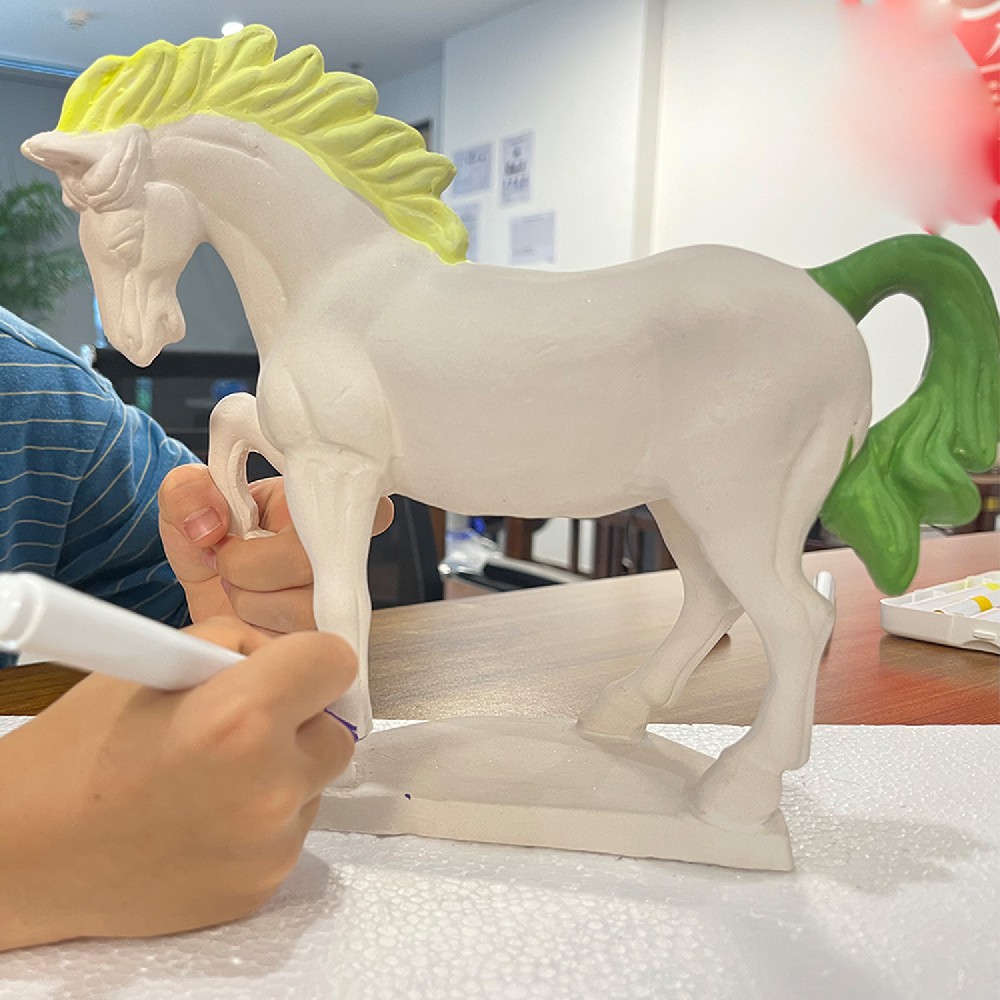
Beat Summer Boredom: A Creative Project That Actually Stays on the Shelf
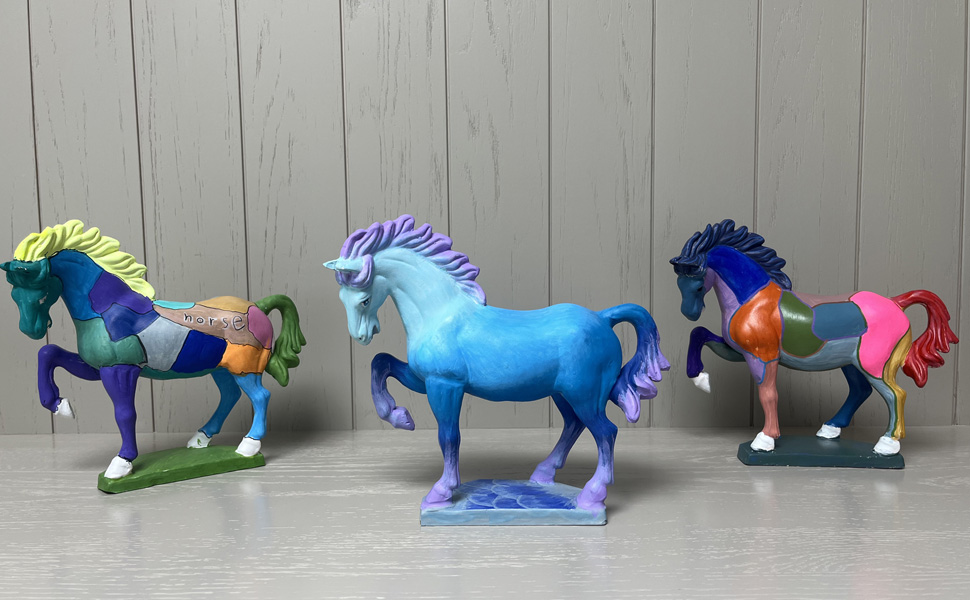
Beyond the Brushstroke: The Hidden Artistic Value of a Paintable Porcelain Horse
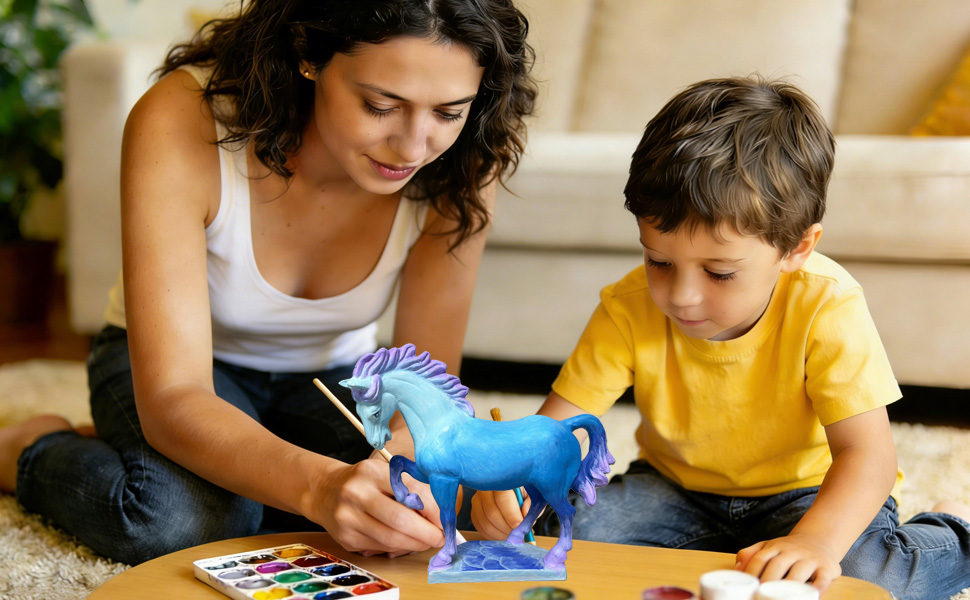
The Paint That Brings Us Together: Why Creating Art with Your Child Matters