The Craft of Tang Sancai (Part 2) – Shaping the Clay Body
After the clay has been properly selected, prepared, and wedged, the next major stage is shaping the clay body. Tang Sancai employs three main forming methods, depending on the shape and complexity of the object.
Step 3: Forming the Body – Three Methods
1. Molding (Most Common)
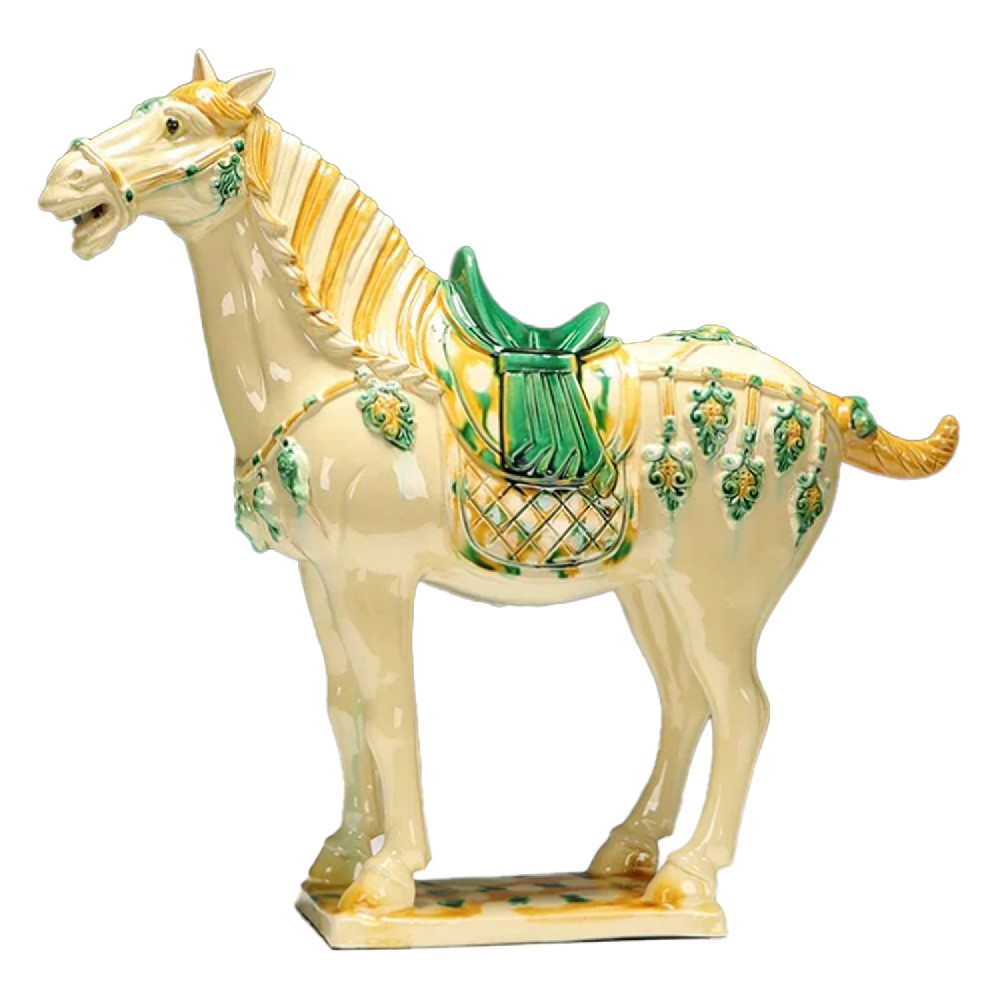
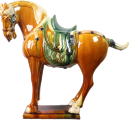
The vast majority of three-dimensional Tang Sancai figures – such as human figurines, horses, and camels – are made using molding techniques. The process is as follows:
Making the Mold: First, a master model (also called the "original pattern") is sculpted from high-quality clay. The master model is usually solid and meticulously carved with all details complete. Based on this master, two or more piece molds are made from plaster or clay.
Pressing the Clay: Prepared clay is rolled into clay slabs of even thickness and pressed into the inner walls of the mold. The artisan uses hands or tools to press the clay firmly against the mold, ensuring that all decorative details are clearly impressed.
Joining the Molds: When the clay has dried slightly to a leather-hard state, the two mold halves are brought together. Clay slurry (slip) is used to bond the seams, and excess clay along the joints is trimmed away.
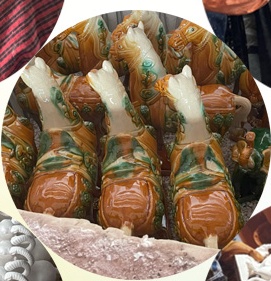
Removing the Body: After the clay body has dried completely to a certain strength, the mold is opened and the hollow body is removed. Large pieces (such as tall horse figurines) may have a body thickness of 1–2 cm and are often made in separate parts that are later joined.
2. Hand-Modeling
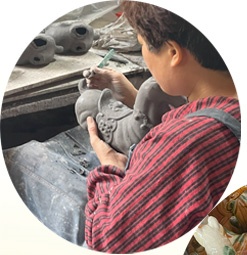
This method is used for small or asymmetrical objects, such as miniature animals, human heads, or decorative appendages. The artisan shapes the clay directly with both hands, relying on experience to control proportions and expressions.
3. Wheel-Throwing
This method is primarily used for making vessels such as bowls, plates, jars, and壶 (ewers). The clay is placed on a rotating potter's wheel, and using centrifugal force together with the hands, the artisan pulls up the body. Wheel-thrown pieces have a uniform, regular body, and their feet often retain clear concentric spiral marks.
Step 4: Trimming and Surface Decoration
Once the body is formed, it is not yet ready for firing. Careful trimming and decoration follow:
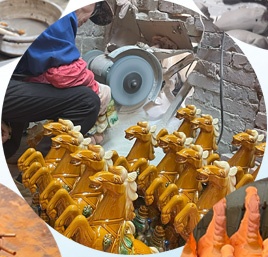
Trimming : When the clay body is leather-hard, bamboo or iron knives are used to trim the rim and foot, remove seam marks (flash) left from molding, and carve fine details such as the eyes and mane of a horse or the drapery lines of a figure.
Joining Components : Complex Tang Sancai shapes are often assembled from multiple parts. For example, the head, body, legs, and tail of a horse figurine are molded separately and then joined together with clay slurry. The two humps of a camel or the arms of a human figure are also added at this stage.
Carving and Impressing : Decoration is applied to the surface of the body. This may include carving patterns with tools or using small stamps to impress decorative motifs such as linked pearls (lianzhu wen) or composite floral patterns (baoxiang hua).
Step 5: Bisque Firing – The First Firing
The trimmed and decorated clay body must undergo a first firing, called bisque firing (or "body firing").
Drying: The shaped bodies are dried naturally in a cool, ventilated area for several days to several weeks. Direct sunlight and drafts are avoided to prevent cracking.
Loading the Kiln: The dried bodies are placed into the kiln. Large pieces are set on the kiln floor; small pieces may be stacked, but spaces must be left between them.
Firing: The kiln temperature is slowly raised from room temperature to approximately 800–900°C (different kilns and objects may have slightly different requirements). The firing takes about 8–12 hours. The temperature increase must be carefully controlled, especially below 300°C (the stage where chemically combined water in the body is expelled); too rapid a rise easily causes cracking.
Cooling: After firing, the kiln is allowed to cool naturally to room temperature, and the bisque bodies are removed.
After bisque firing, the body takes on a brick-red or light pink color. It is hard yet porous – a condition that creates excellent adhesion for the next stage, glazing. Bisque firing also serves an important quality-control function: if cracks or deformations appear during this first firing, the defective body can be discarded before the costly glazing stage, thus avoiding greater waste.